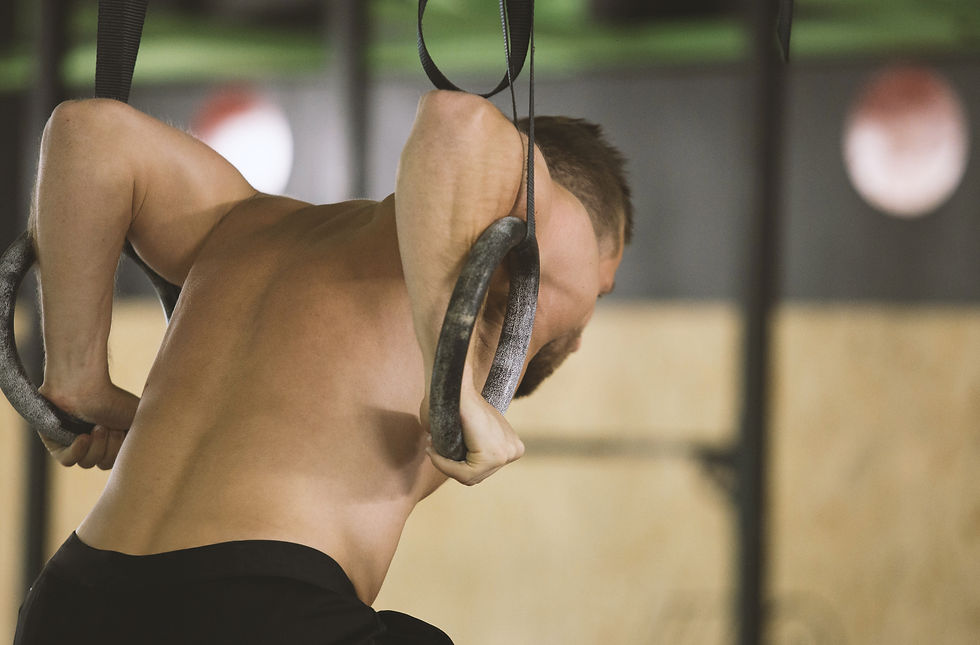
These days, there are so many different tools available to us to help us perform each exercise. Free weights, cable machines, kettlebells, resistance bands, to name a few. And with each tool comes different factors to consider in order to do the exercise correctly.
The 'Form Breakdown' series will focus on one exercise at a time and break down the way they should be performed for maximal results. In this article, we will be focusing on the dip.
It should be noted that this article is about parallel bar dips or machine-assisted dips. This article does not however cover bench dips which, due to them putting the shoulders in a vulnerable position, I would not recommend.
Why choose the dip?
Although not as glamorous as its free weight alternatives, the dip is one of the best exercises we can do to build upper body muscle and strength.
The exercise can be performed in different ways to emphasise different upper body muscles. However, the pectorals (chest muscles), the front deltoids (shoulder muscles) and the triceps (rear upper arm muscles) are all involved to some degree in each version.
Like most other bodyweight exercises, the dip also requires core strength to prevent unnecessary body movement. Without a strong core, this movement destabilises the exercise and makes it harder to complete.
The keys to a good dip
Only go so far down as to make a right angle with your elbows – when you first try to tackle a dip, it can be hard to judge just how far to lower your body. To perform the dip in its most effective fashion, you should be aiming to have your elbows at a 90° angle at the bottom of the dip. For those of us with relatively good shoulder mobility, any higher than 90° (i.e. you haven't lowered yourself enough) and you won't be getting the full stretch of the pectorals, meaning less stress and less development of the chest muscles. Any less than 90° (i.e. you've lowered yourself too far) and you place your shoulders in a vulnerable position
Brace your core – as mentioned above, the dip requires a strong core to keep your body in a stable position throughout the movement. This is especially true for the position of your legs which, if unstable, can lead to more energy being spent trying to retain your balance on the bars than is available for the actual exercise
Keep your forearms at a 90° angle with the floor – for maximal chest activation in a parallel or assisted dip, your chest should be leaning forward. In this position, your forearms will naturally be at a 90° angle with the floor and therefore be in the most efficient position to produce enough force to push yourself back up
Don't let your elbows flare out! – like with the bench press, a common issue with dips is elbows flaring out to the side. Elbows flaring is very common among beginners which can cause some very serious joint issues in the long-run. Instead of allowing your elbows to turn outwards when pushing your body up, try to keep your elbows facing at a 45° angle diagonally away from you throughout the movement
Breaking down the dip
The way we perform all exercises is impacted by our individual proportions and leverages.
For the dip, shoulder and wrist mobility can greatly impact our motion. The below steps are general guidelines for completing a dip, but don't be afraid to experiment with slightly hand positions and different assisted versions of the exercise until you find what is most comfortable for you.
Step 1: Place your hands on the near end of the dip handles
Step 2: Brace your core and take a small jump to get into position at the top of the movement, straightening your arms to hold you in place
Step 3: Stabilise your legs by bending your knees to bring them up and behind you (you can cross your feet or not – whatever's most comfortable for you)
Step 4: Lean your chest forward roughly 45° in relation to where it started
Step 5: Lower your body downwards until your elbows form a right angle
Step 6: Push downwards into the bar and extend your arms to return to the starting position
Disclaimer: I am not a doctor or medical professional. The information I provide on this website is based on my personal experience and my experience as a Personal Trainer. Use of this information is strictly at your own risk. In addition, the information provided on this website is not intended to be a substitute for professional medical advice, diagnosis or treatment. Never disregard professional medical advice, or delay in seeking it, because of something you have read on this website. Never rely on information on this website in place of seeking professional medical advice.
Comments